
In this guide10 sections
- 01Why the floor drain can be an early clue
- 02Stay safe around a wet or contaminated drain
- 03Document location, timing and nearby fixtures
- 04Understand what the visible drain does not tell you
- 05Distinguish backflow from other basement water
- 06Ask focused questions during a plumbing assessment
- 07Know when a backwater valve may be relevant
- 08Keep the drain and any protective equipment accessible
- 09Respond carefully if water returns
- 10Maintain a clear record for future decisions
- ↗Official references
Before you begin
Why a basement floor drain can be an early clue in a sanitary backflow event, and what a homeowner should document.
Why the floor drain can be an early clue
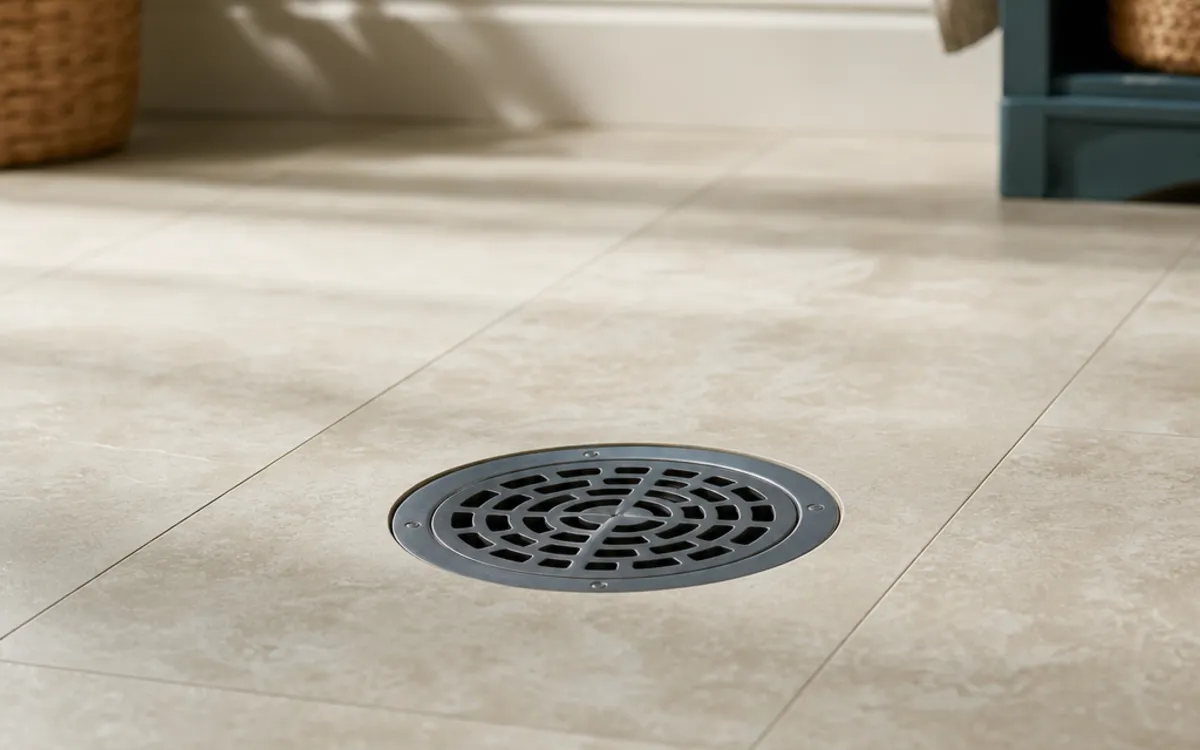
A basement floor drain is a low opening in the floor and may be connected to a building’s sanitary drainage system. If reverse pressure occurs in a connected system, wastewater can become visible at a low fixture. That makes the drain worth documenting when water appears there, but the drain alone does not diagnose the source. Water around a grate may have come from a nearby appliance, plumbing leak, foundation seepage or another route, and the home’s actual connections can vary.
Describe exactly where moisture first appeared: through the grate, around its edge, along a nearby joint or somewhere else. Note whether other fixtures were involved, whether the water recurred and what was happening at the time. Avoid calling any wet floor drain a sewer backup until a qualified assessment supports that conclusion. Distinguishing the observation from the explanation helps a plumber ask the right questions and reduces the chance that a repair aimed at one pathway will be mistaken for a solution to every type of basement water.
Points to carry forward
- Record whether water came through, around or merely near the grate.
- Note nearby fixtures and the conditions at the time.
- Treat the drain as a clue, not proof of a sanitary backup.
Stay safe around a wet or contaminated drain
If water may contain sewage, keep people and pets away and avoid direct contact. Do not assume it is clean because it looks clear, has little odour or has already receded. Water near electrical equipment creates an additional hazard; do not enter a wet area to unplug a pump, appliance or extension cord. If there is an active overflow, significant damage or uncertainty about electrical safety, leave the affected area and seek qualified assistance promptly.
Do not pour drain chemicals, bleach or other products into a drain during an event. Chemicals can create exposure risks, damage materials or complicate professional cleanup, and they do not establish or resolve the cause of reverse flow. Do not force the grate, insert tools or open a cleanout. Once the area is safe, photograph the location without touching the water and note who was contacted and what was done. Appropriate mitigation and health protection take priority over preserving a perfect record.
Points to carry forward
- Keep clear of suspect wastewater and water near electrical equipment.
- Do not pour chemicals, force the grate or open plumbing access.
- Use qualified cleanup guidance for water that may be contaminated.
Document location, timing and nearby fixtures
Make a simple note of the drain’s location in relation to walls, stairs, laundry equipment, a bathroom and any visible cleanout. Record the depth or spread if it can be observed safely, along with colour, odour and whether the water rose, drained away or returned. Write down the discovery time and the last time the floor was known to be dry. Include weather and household water use as context without implying that either caused the event.
Photographs can show the grate, the wider room and nearby water marks. Take them only from a safe position and avoid moving contaminated belongings merely to improve the image. Mark what is certain: “water seen at edge of grate” is more precise than “water came up the sewer” if the path was not observed. Keep notes about cleanup, temporary measures and any recurrence. These details help a professional distinguish a floor-drain symptom from a leak or exterior water entry and explain what further inspection may be useful.
Points to carry forward
- Record precise location, appearance, event timing and recurrence.
- Include nearby fixtures and known plumbing activity as context.
- Use factual descriptions rather than assumed causes.
Understand what the visible drain does not tell you
A grate reveals the surface opening, not the hidden pipe route. It may not be obvious whether it connects to sanitary drainage, how it joins other plumbing or whether a valve or trap is present. A floor drain can also dry out, collect debris or receive incidental water without any sewer reverse-flow event. The shape of the grate and the fact that it is at a low point do not establish the building’s full plumbing arrangement.
A qualified professional can investigate access, connection and condition using methods appropriate to the property. Even an internal camera may see only a reached segment and cannot evaluate foundation seepage, exterior drainage or groundwater. Ask what can be confirmed without opening the floor and what evidence would require additional work. Bring renovation history and plans if available, but identify old or uncertain records clearly. This avoids assumptions based on common layouts that may not match a particular home.
Points to carry forward
- Do not infer the concealed connection from the grate alone.
- Ask what the proposed inspection can and cannot establish.
- Share renovation history while flagging uncertain or outdated information.
Distinguish backflow from other basement water
Sanitary backflow involves reverse movement in a connected wastewater route. Foundation seepage may enter through a wall, crack or floor joint. Surface runoff can reach a basement through a low opening or window well, and a storm-water problem may involve a different drainage system. A sump pump issue concerns collection and discharge of water at the sump; it is not the same as a sanitary drain event. Household plumbing leaks can also wet the floor close to a drain and imitate a drain-related problem.
Patterns can guide questions but cannot settle them alone. Rain or thaw may coincide with several kinds of water problems, and water can travel under flooring before appearing. Check whether water was actually observed emerging through the grate, whether a fixture overflowed, or whether wetness began at a wall. Ask a professional to explain the evidence for each plausible route. This distinction matters because a backwater device is designed for a particular sanitary-flow concern, not as a general barrier against groundwater, surface runoff or sump failure.
Points to carry forward
- Keep sanitary, foundation, stormwater, sump and plumbing-leak possibilities distinct.
- Describe where water appeared before assigning a cause.
- Do not expect a backwater valve to address non-sanitary water entry.
Ask focused questions during a plumbing assessment
Tell the plumber what you observed, what remains unknown and what records you have. Ask whether the floor drain can be traced to a relevant line, what access is needed and whether other fixtures share the route. Ask what an inspection will establish about the inspected section and whether blocked or inaccessible portions limit the answer. If a camera, cleaning or opening of the floor is proposed, understand the purpose, risks, likely disruption and what finding would change the recommendation.
Request findings in plain language and ask for a distinction between direct observation and inference. If the proposed work includes a backwater valve, ask which drains it is intended to protect, where it would be placed, how access for maintenance is preserved and what water sources it cannot stop. A single floor drain symptom does not necessarily identify the correct installation location. For work that changes plumbing or building components, clarify who checks current permit and code requirements before construction begins.
Points to carry forward
- Ask how the drain connects and which parts can be inspected.
- Understand the purpose and limits of tests or proposed openings.
- Clarify which fixtures a proposed protective device would serve.
Know when a backwater valve may be relevant
A backwater valve is a protective device intended to restrict reverse flow in an appropriate sanitary drainage arrangement. Whether one is suitable depends on the building’s plumbing, the route to be protected, existing conditions and applicable requirements. The fact that water appeared at a floor drain does not alone establish eligibility, placement or effectiveness. A professional needs to evaluate the private-side layout and explain how the device would interact with fixtures and other drainage paths.
Ottawa publishes information about backwater-valve permits and a Residential Protective Plumbing Program. Read the current City material and confirm any permit process, eligibility, approved work and application details directly with the City; requirements and program terms can change. These resources are not confirmation that a particular home qualifies or needs installation. A valve also does not stop foundation seepage, storm-water entry, groundwater or a sump-pump failure. Ask for a site-specific explanation before treating it as a general basement-flood remedy.
Points to carry forward
- Confirm suitability and protected fixtures through a site-specific assessment.
- Check current City permit and program details rather than assuming eligibility.
- Keep non-sanitary water problems outside the valve’s intended scope.
Keep the drain and any protective equipment accessible
Keep stored items from blocking the floor drain and any known cleanout or inspection access. Do not cover the drain permanently or build finishes that prevent a qualified person from reaching it. This does not mean removing a grate or routinely dismantling components; access work should be done safely and by someone familiar with the plumbing. If flooring or renovations are planned, point out the drain and ask how access and drainage will be preserved before the work is closed in.
If a backwater valve is present, identify its location from reliable records or a qualified assessment rather than guessing. Ask the installer or service professional to explain access, inspection intervals and maintenance responsibilities. Follow the instructions for the actual assembly; not every installation has the same configuration. A valve that is buried, blocked or inaccessible may be harder to inspect or service when needed. Keep the location and any service documentation with household records so a future owner or contractor does not have to rediscover it.
Points to carry forward
- Keep visible drain and service access clear without dismantling plumbing.
- Discuss access before flooring, storage or renovation work.
- Record a confirmed valve location and its specific service instructions.
Respond carefully if water returns
If water reappears, prioritize safety and contact qualified help when there is active overflow, possible sewage or a significant leak. Avoid using fixtures if a professional or emergency responder advises that further discharge may worsen the situation; do not rely on this guide to make a real-time system decision. Record the sequence only if safe. If the event is contained and the area is safe, note what changed since the previous occurrence and preserve new photographs, times and service notes.
Do not repeatedly flush, run laundry or test the drain to see what happens. Deliberately challenging an uncertain system can increase water damage or expose household members to contamination. Tell responders about any known valve or sump equipment and whether alarms sounded, but identify second-hand information. After immediate conditions are controlled, compare both events to see whether the same area, fixtures or weather context recur. Recurrence supports a focused investigation; it does not by itself confirm one cause.
Points to carry forward
- Treat active overflow, suspected sewage and electrical risk as urgent safety concerns.
- Do not provoke a repeat event by running fixtures or flushing.
- Record changes from prior events only when it is safe to do so.
Maintain a clear record for future decisions
Keep a folder with the event timeline, drain location, dated images, professional reports, invoices and any relevant plumbing plans. Add a brief note after service visits that identifies what was inspected, what was changed and what remains uncertain. Store instructions for any pump, alarm or valve alongside the record, but do not substitute a generic online maintenance schedule for instructions specific to installed equipment. When finishes are restored, document the location of access points before they are hidden.
Share the records with future service professionals and, where appropriate, new owners. Use cautious language: a professional-confirmed finding can be attributed to that report, while an unverified suspicion should stay labelled as such. A concise history helps avoid repeated assumptions and can make a later assessment more efficient. If the concern changes—for example, from water through the drain to dampness at a wall—treat it as a new observation and consider whether it needs a different specialist.
Points to carry forward
- Preserve reports, images, service records and access locations together.
- Label confirmed findings and unresolved suspicions distinctly.
- Reassess if later water appears by a different route.
Further reading
Official references
Rules and program details can change. Check the current source before making a decision about work on your home.
Continue reading
The next useful question.
When the question is about your home
An on-site conversation can clarify what a general guide cannot.