
In this guide10 sections
- 01A finished basement changes the planning conversation
- 02Map the work area and protect the room
- 03Protect service access when choosing the final finish
- 04Set realistic expectations for floor and finish restoration
- 05Coordinate household routines and plumbing use
- 06Verify permits, inspections and records before restoration
- 07What to ask an installer before authorizing work
- 08After installation: keep the access point usable
- 09A finished-basement preparation checklist
- ↗Common questions
- ↗Official references
Before you begin
What homeowners should ask before a backwater valve installation affects finished basement flooring: access planning, dust control, project boundaries, restoration and future maintenance.
A finished basement changes the planning conversation
Installing a backwater valve in a finished basement is not only a question of selecting a plumbing component. The finish layers can hide the concrete slab and sanitary drain route, while cabinets, partitions, rugs and stored items may limit access. The valve must also remain reachable for inspection and maintenance after the room is put back together. Before discussing a work date, ask what the installer needs to confirm about the existing drain and where an access point could reasonably remain. A site-specific plan is more useful than assuming a particular tile must be removed or a fixed-size opening will be enough.
Separate the plumbing scope from the finish scope. The contractor may describe the drain work and concrete repair while another trade handles flooring, trim or cabinetry. Ask who coordinates the handoff and what counts as complete. Ottawa's public guidance requires accessible valve placement in its new dwelling-unit construction context; the City should be consulted about requirements applicable to a particular alteration. For wider preparation, see planning a backwater valve retrofit in an Ottawa home and the existing guide to backwater valves and basement renovations.
Points to carry forward
- Plan plumbing and finish work as connected but distinct scopes.
- Identify how the valve stays accessible after the room is restored.
- Confirm the exact project requirements with the City or permit professional.
Map the work area and protect the room
Ask the contractor to show the anticipated work zone and approach path before moving furniture. Which items need to be removed? Will a cabinet, wall, doorway or finished floor limit access? Where will tools and materials be staged? Who protects adjacent rooms and the path from the entrance? These questions turn a vague appointment into a workable household plan. Do not assume the smallest visible patch will define the full area affected; cutting, access and restoration boundaries can differ. Ask what could change after concealed conditions are exposed and how you will approve added work.
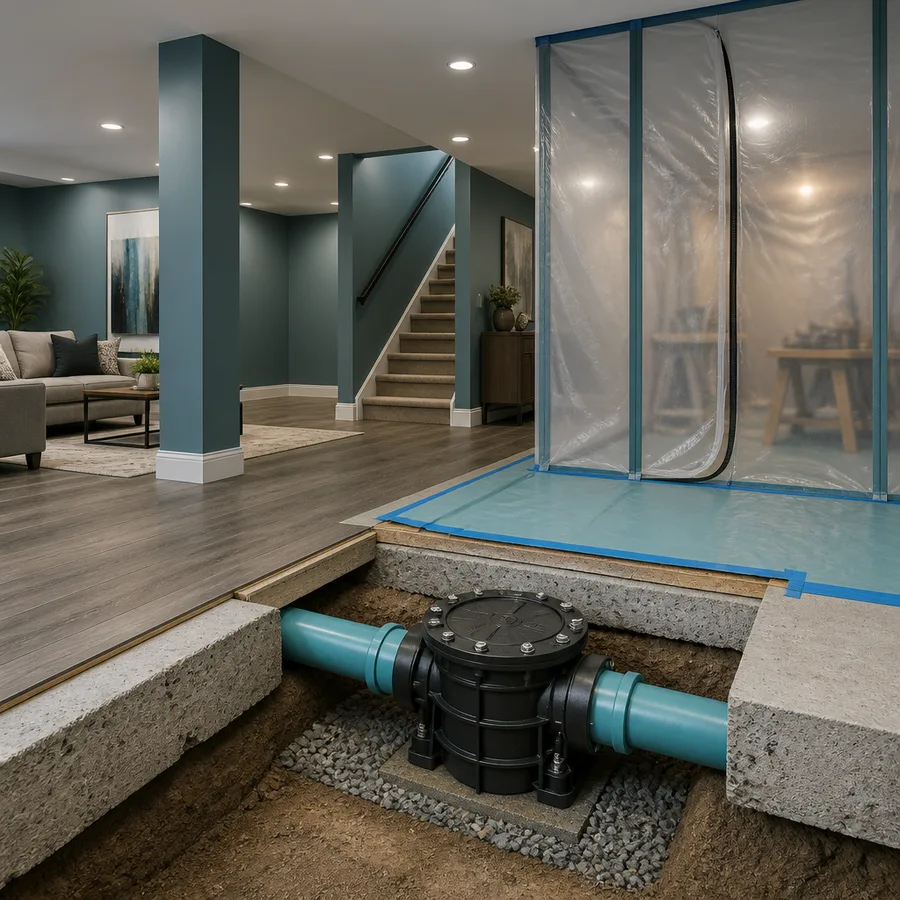
Discuss dust and debris control directly. Concrete cutting and demolition can produce dust and noise; ask what barriers, extraction methods and cleanup are included for this project. The details depend on the contractor and home, so avoid treating a generic checklist as a guarantee of a dust-free job. Remove valuables and delicate items from the agreed area, secure pets and plan where household members can stay while work is active. Ask whether the basement can remain occupied, which fixtures may be unavailable, and how the work area will be left at the end of each day if the job spans multiple days.
Points to carry forward
- Confirm access route, staging space and furniture preparation.
- Ask what dust control and daily cleanup are included.
- Clarify any changes that might affect the opening or work area.
Protect service access when choosing the final finish
The valve's location and cover should be settled before flooring is replaced. A future inspection or maintenance visit should not require removing a permanent built-in, cutting a new opening or guessing where the assembly is buried. Ask the installer how the access cover will sit relative to the finished floor, whether the cover can be removed without damaging surrounding material, and what clearance is needed. The City of Ottawa's backwater-valve guidance says the valve must be accessible for inspection and maintenance in the new dwelling-unit context it describes. Confirm how that requirement applies to the specific work being planned.
Flooring installers should know where the access point is and which materials must not cover it. A flush cover may be practical in some layouts; other details depend on the assembly, finish and applicable requirements. Do not bury it under glued flooring or a fixed cabinet based on appearance alone. Keep the cover location documented with a photograph and a simple room reference, such as distance from a permanent wall. The site's guide to backwater valve access and cleanouts explains why an accessible location matters beyond the installation day.
Points to carry forward
- Decide the access detail before finish flooring is installed.
- Keep the cover removable and the valve reachable as required.
- Record its location for future household maintenance.
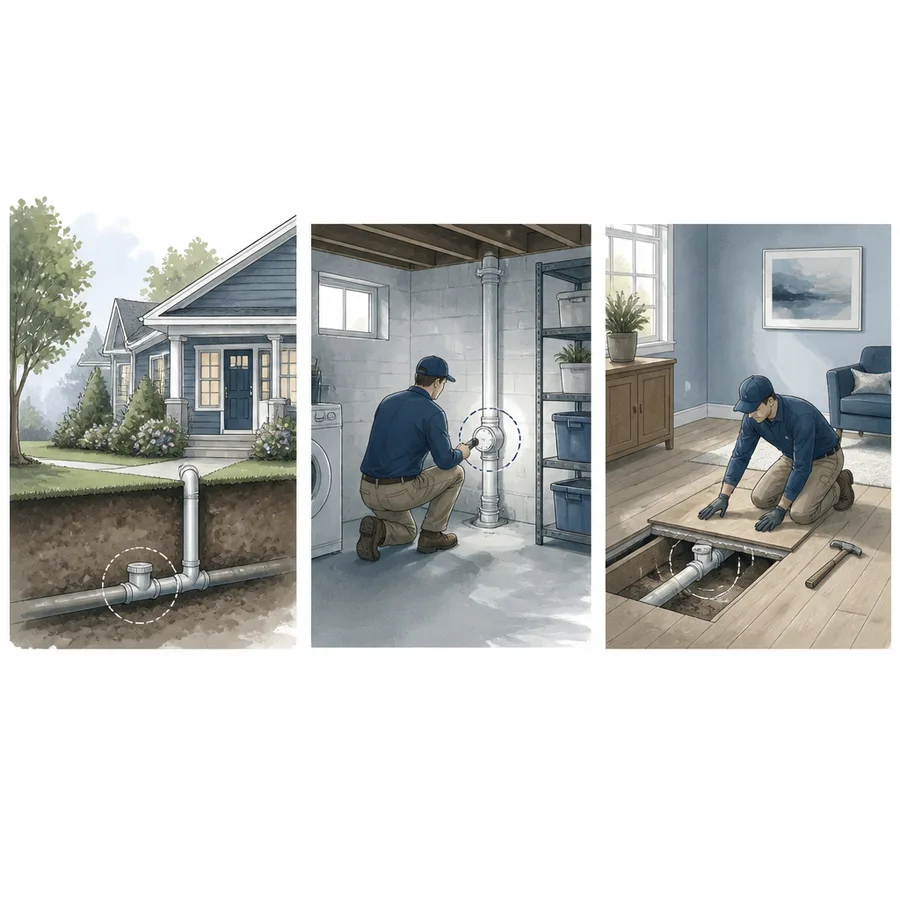
- 01
Prepare the room
Clear the agreed work zone and confirm dust protection and fixture restrictions.
- 02
Keep access serviceable
Coordinate the valve cover and floor finish before flooring is restored.
- 03
Document completion
Confirm testing or inspection records, maintenance instructions and location.
Set realistic expectations for floor and finish restoration
Restoration is often where homeowner expectations and a plumbing estimate differ. Ask whether the quoted work includes concrete patching only or also underlayment, moisture layers, tile, carpet, vinyl, engineered wood, baseboards and paint. A precise match to aged or discontinued flooring may not be possible, even when a repair is carefully completed. Discuss whether the contractor will patch only the disturbed area, replace material to a seam or doorway, or leave a prepared surface for another trade. Confirm who buys materials, who moves fixtures and who is responsible for final cleanup.
If the floor uses tile or specialty materials, ask about spare stock before work starts. If none exists, decide whether a visible patch is acceptable or whether a larger continuous section should be replaced by a flooring professional. For carpet or floating floors, confirm whether edges and transitions can be restored without creating a trip hazard or blocking the access cover. Get these limits in writing. The correct plan depends on the home's actual finishes and the work area, so a conceptual illustration or online cost range cannot promise a particular appearance or price.
Points to carry forward
- List every finish layer and trade in the written scope.
- Discuss material availability and acceptable patch boundaries early.
- Confirm who handles transitions, cleanup and finish defects.
Coordinate household routines and plumbing use
Before work starts, ask which fixtures may be unavailable and for how long, whether household members can use other plumbing, and how the crew will communicate if the plan changes. Do not make assumptions about continued drainage during an installation: the contractor should explain any restrictions for the actual work. If occupants need a quiet workspace, accessible washroom or safe route, mention it while the schedule is being planned. Keep children and pets away from tools, open floor areas and materials. If the basement contains a home office, laundry, recreation area or storage, decide in advance what needs to be moved and what can remain behind a barrier.
A written start window and a daily contact reduce uncertainty, but they do not eliminate concealed-condition delays. Ask how the crew will secure an opening if work pauses and whether the basement can be used outside working hours. If dust-sensitive equipment or stored food is nearby, ask whether it should be removed. Keep an inventory of items moved and avoid placing belongings back until the work area is declared safe and complete. These practical steps do not replace the contractor's safety plan; they help the household follow it.
Points to carry forward
- Confirm fixture restrictions with the installer before the start date.
- Plan safe routes and move sensitive items away from the work zone.
- Ask how an open area is protected if work pauses.
Verify permits, inspections and records before restoration
If a municipal inspection is required, clarify when the work must remain visible and who books the appointment. Do not allow a critical inspection point to be covered before the responsible authority has had the opportunity to review it, when applicable. Ottawa's permit page describes requirements and inspection information for new construction; renovation and retrofit situations should be checked with the City or the professional responsible for the project. Do not infer a permit exemption from another home's experience or a contractor's general statement. Record the permit or application reference and any inspection outcome.
Before the floor is closed, ask for confirmation of the installed valve model, location, access details, testing and any remaining tasks. Take photographs of the accessible assembly and cover from a safe position, and store the maintenance instructions with the invoice and permit/inspection paperwork. Ask whether follow-up service is recommended by the manufacturer and who to contact with a concern. The Ottawa permit and inspection guide points to local references, but the City's current page should control changing process details.
Points to carry forward
- Confirm whether inspection must occur before restoration.
- Keep the installed model, test and location information.
- Use current City direction for the project's permit obligations.
After installation: keep the access point usable
When the room returns to service, make sure the valve cover remains visible or otherwise identifiable, removable and free of stored objects. Save a clear photograph showing its location in relation to permanent features. Keep the product instructions and any professional maintenance notes accessible to future occupants. Do not pour cleaners into the drain, probe the valve with tools or take it apart unless the manufacturer or qualified professional specifically directs that action. If the cover becomes loose, damaged or difficult to open, arrange assessment rather than sealing over it as a cosmetic repair.
A backwater valve can reduce one type of sewer-backup risk when it is correctly selected, installed and maintained, but it does not prevent every source of basement flooding. Continue ordinary exterior water management and address sump, foundation and drainage concerns separately. The backwater valve maintenance guide covers homeowner questions to revisit. If a backup occurs or a valve may have closed, follow professional advice about safe plumbing use; the guide on what happens when a backwater valve closes explains why normal household drainage can be affected.
Points to carry forward
- Keep the access cover clear and document where it is.
- Follow the installed product's maintenance instructions.
- Treat sewer protection and other flood pathways separately.
A finished-basement preparation checklist
Before work, confirm the proposed valve location, access, floor opening, dust controls, fixture restrictions, inspection timing and restoration boundaries. Identify which fixtures or rooms are affected and where belongings need to move. Ask how the contractor will manage the work area if hidden conditions require a pause. Make sure the estimate names the plumbing and finish responsibilities separately, with a clear process for approvals if scope changes. If a municipal program may apply, confirm current eligibility and timing before signing a contract or starting work.
At completion, verify that the access cover can be reached and opened, the floor transition is safe, the work area is clean, and any required testing or inspection has been documented. Collect invoices, product instructions and photographs before furniture returns. A well-planned project does not guarantee that no disruption will occur; it makes responsibilities clearer and helps avoid burying a maintenance point beneath a beautiful new floor. For the installation overview, continue to backwater valve installation in Ottawa.
Points to carry forward
- Write down preparation and restoration responsibilities.
- Confirm access and any inspection before replacing finishes.
- Keep records where the next homeowner can find them.
Common questions
Backwater Valve Installation in a Finished Ottawa Basement FAQs
Can a backwater valve be installed without damaging finished flooring?
The answer depends on the existing drain and access route. Ask for a site-specific assessment and a clear explanation of the expected opening and restoration.
Can flooring cover a backwater valve access cover?
The valve must remain accessible for inspection and maintenance where required. Confirm a compliant finish detail with the installer and City rather than covering it permanently.
How long will a finished-basement installation take?
Timing depends on the home's layout, investigation, inspection and finish work. Request a project-specific schedule and ask what could change it.
Does a backwater valve prevent all basement flooding?
No. It addresses a specific sewer-backup pathway and does not replace measures for foundation seepage, surface water or sump-pump concerns.
Further reading
Official references
Rules and program details can change. Check the current source before making a decision about work on your home.
Continue reading
The next useful question.
When the question is about your home
An on-site conversation can clarify what a general guide cannot.